案例-用户登录-完成功能#
需求:完成登录功能的核心流程,以及Alert警告框使用
步骤:
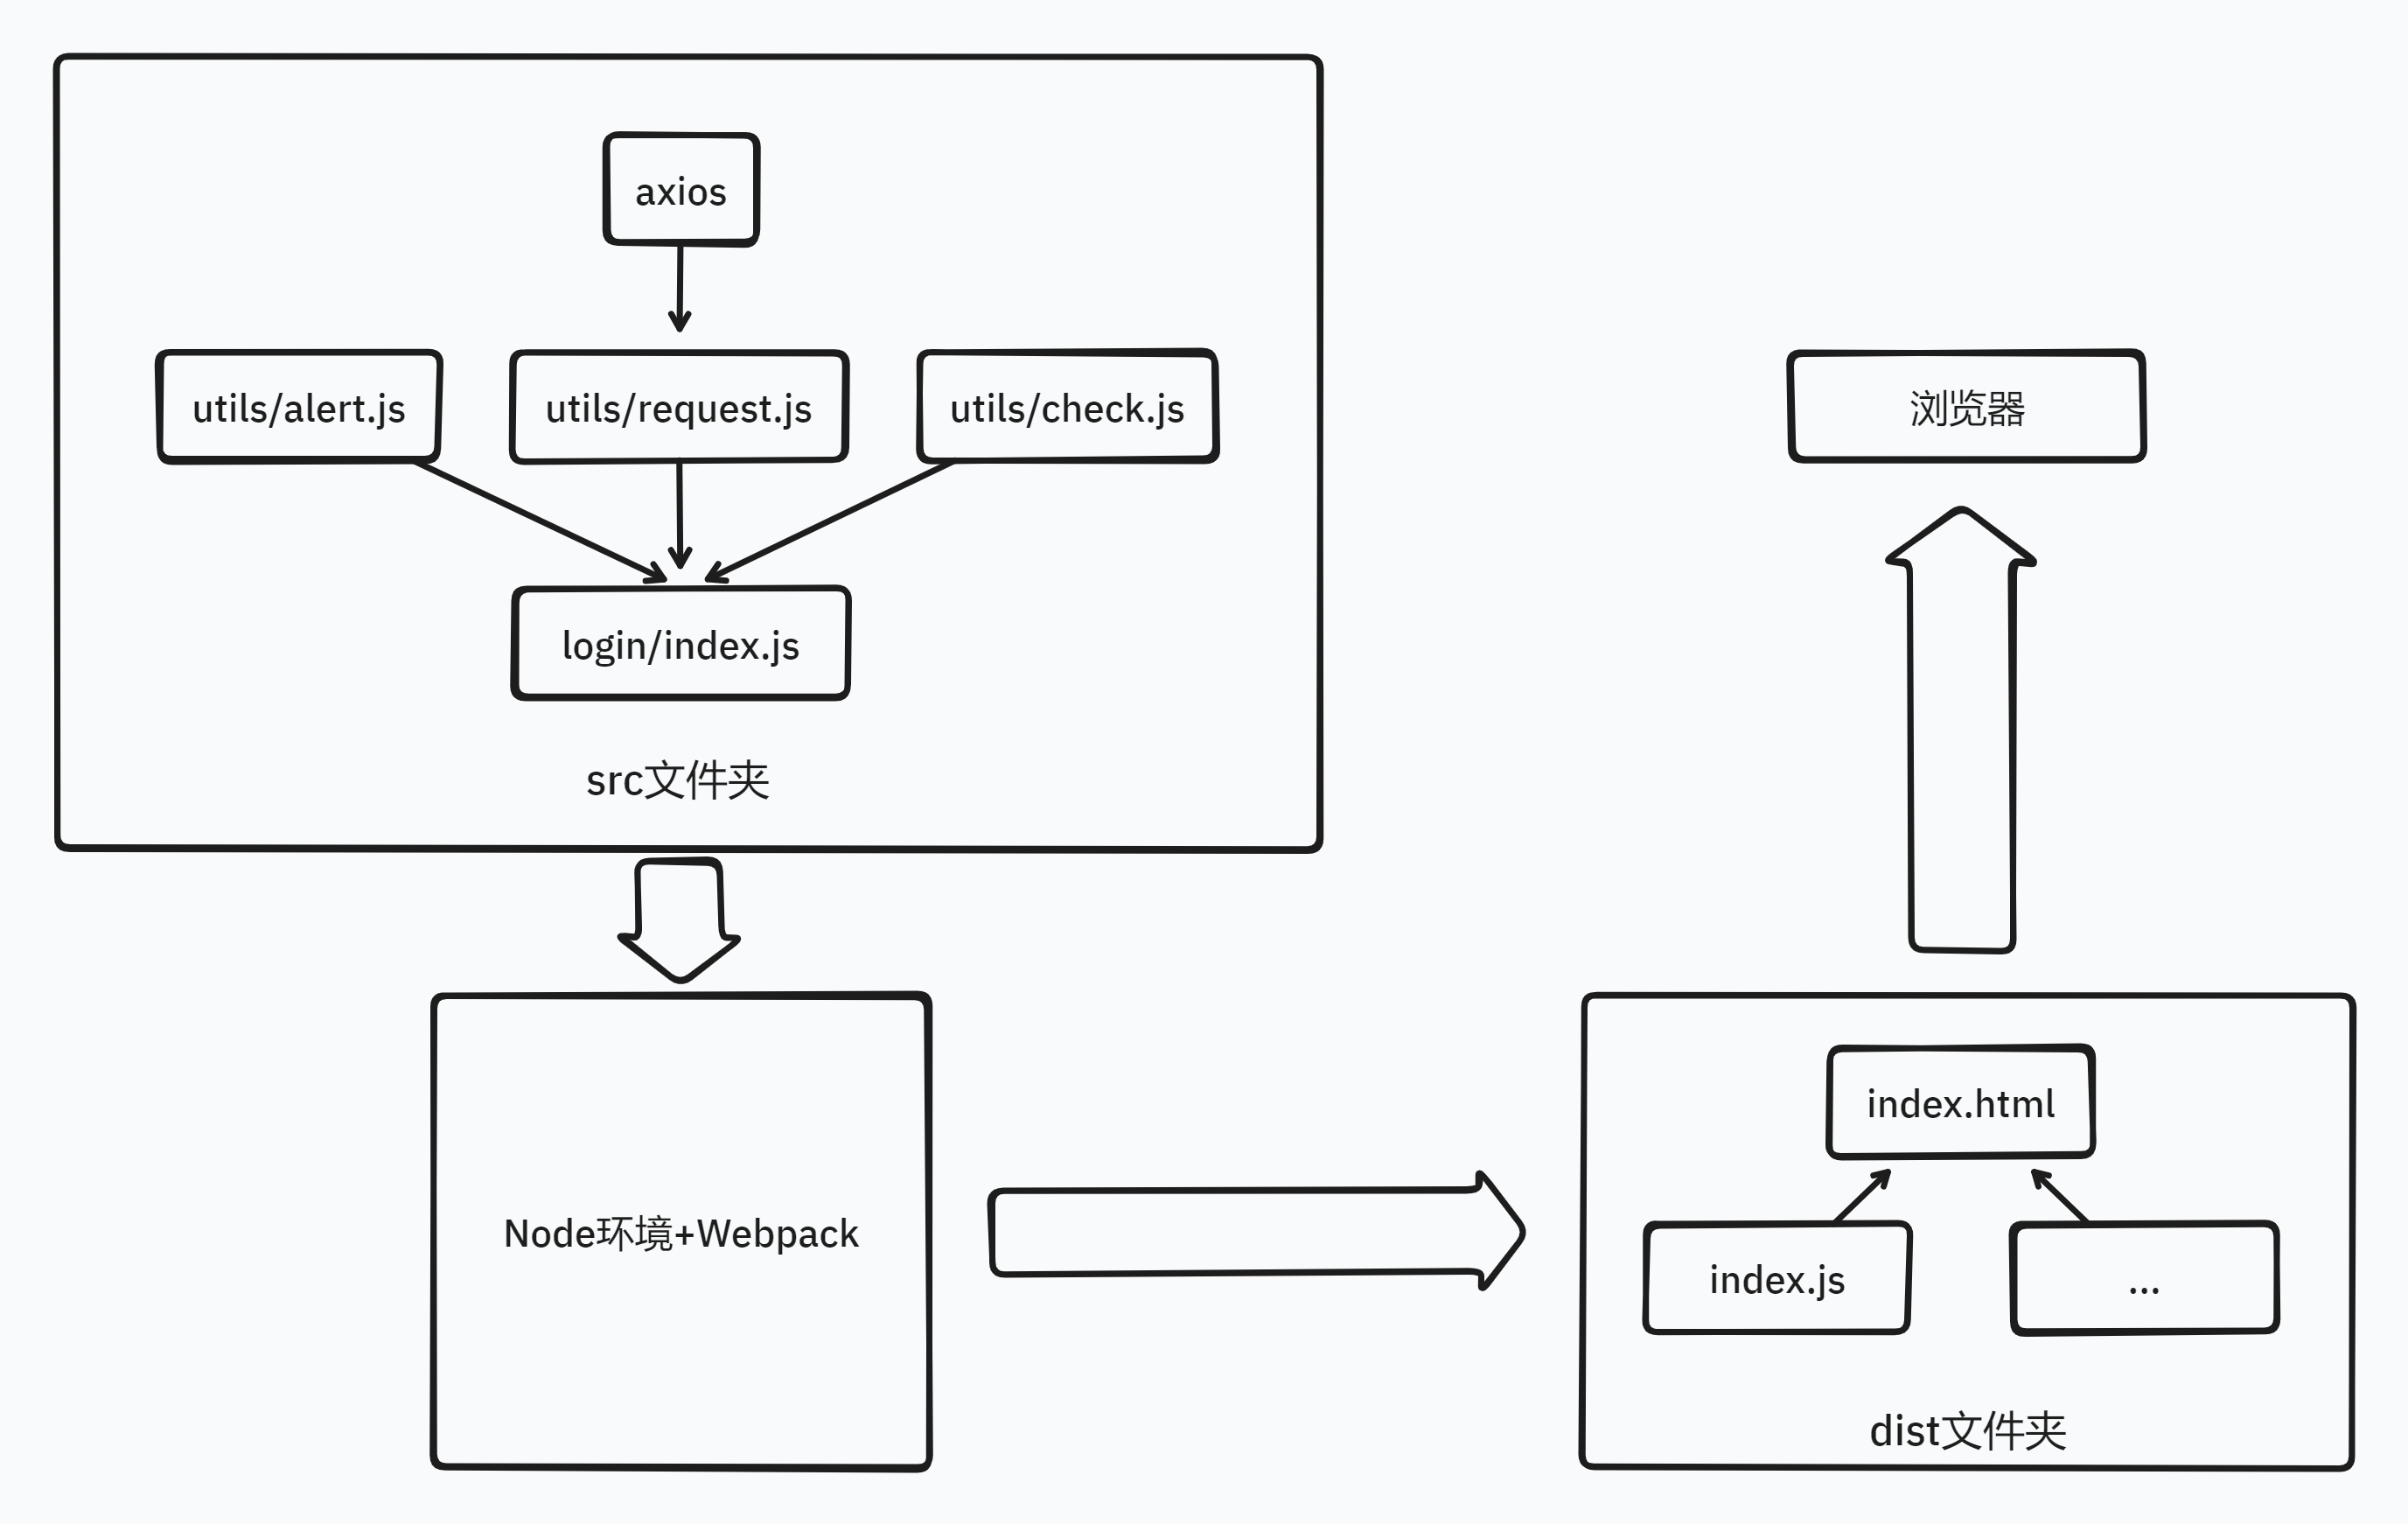
- 使用npm下载axios(体验npm作用在前端项目中)
- 准备并修改utils工具包源代码导出实现函数
- 导入并编写逻辑代码,打包后运行观察效果
npm下载axios
npm i axios将之前写好的request.js及alert.js放入utils
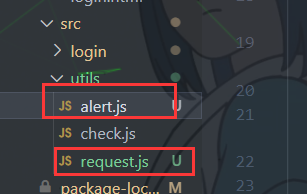
模块化开发每个模块作用域是独立的,要使用axios需要单独导入
先处理request.js,在最前面导入axios
import axios from 'axios';并且在最后导出
// 要想其他模块使用这个模块,还需要导出
export default axios;
对于alert.js,采用命名导出的方法导出,在函数前加export
export function myAlert(isSuccess, msg) {...}以上两个模块处理完成之后即可开始编写index.js逻辑代码
// 10.3导入并编写逻辑代码
import myAxios from '../utils/request.js';
import { myAlert } from '../utils/alert.js';
// 将之前的验证代码修改一下,添加封装好的alert警告框
document.querySelector('.btn').addEventListener('click', function () {
    const phone = document.querySelector('.login-form [name=mobile]').value;
    const code = document.querySelector('.login-form [name=code]').value;
    if (!checkPhone(phone)) {
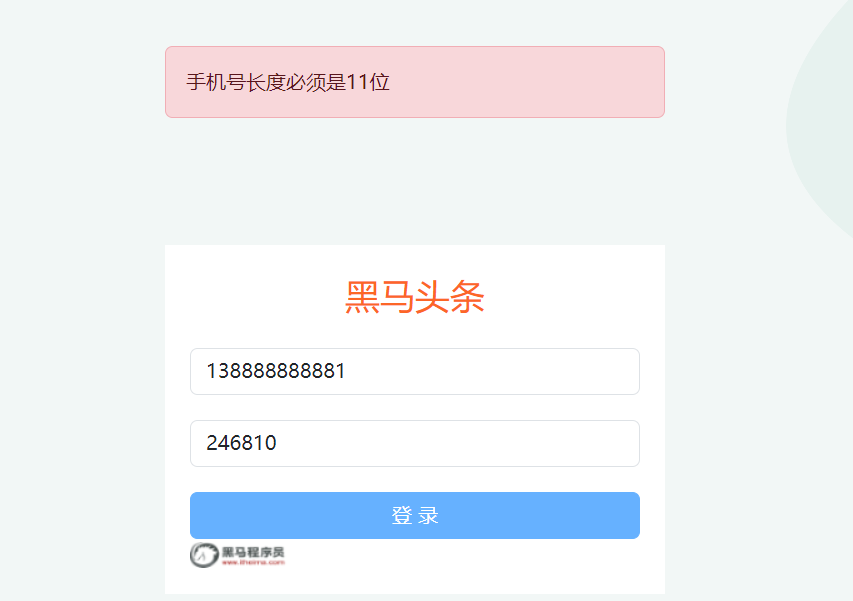
        myAlert(false, '手机号长度必须是11位');
        console.log('手机号长度必须是11位');
        return;
    }
    if (!checkCode(code)) {
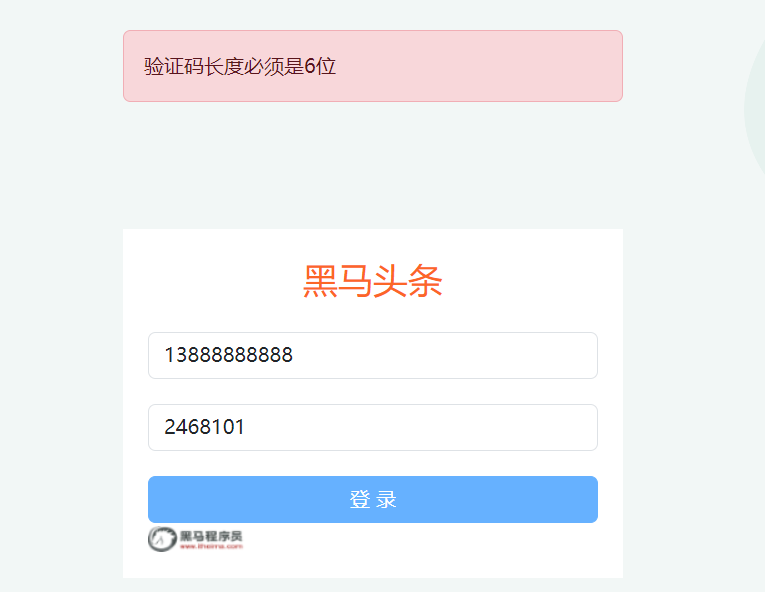
        myAlert(false, '验证码长度必须是6位');
        console.log('验证码长度必须是6位');
        return;
    }
    myAxios({
        url: '/v1_0/authorizations',
        method: 'post',
        data: {
            mobile: phone,
            code,
        },
    })
        .then(res => {
            myAlert(true, '登录成功');
        })
        .catch(err => {
            myAlert(false, err.response.data.message);
        });
    console.log('提交到服务器登录...');
});
至此,用户代理的逻辑代码部分已完成,之后的工作就是打包代码和其他资源,查看效果了
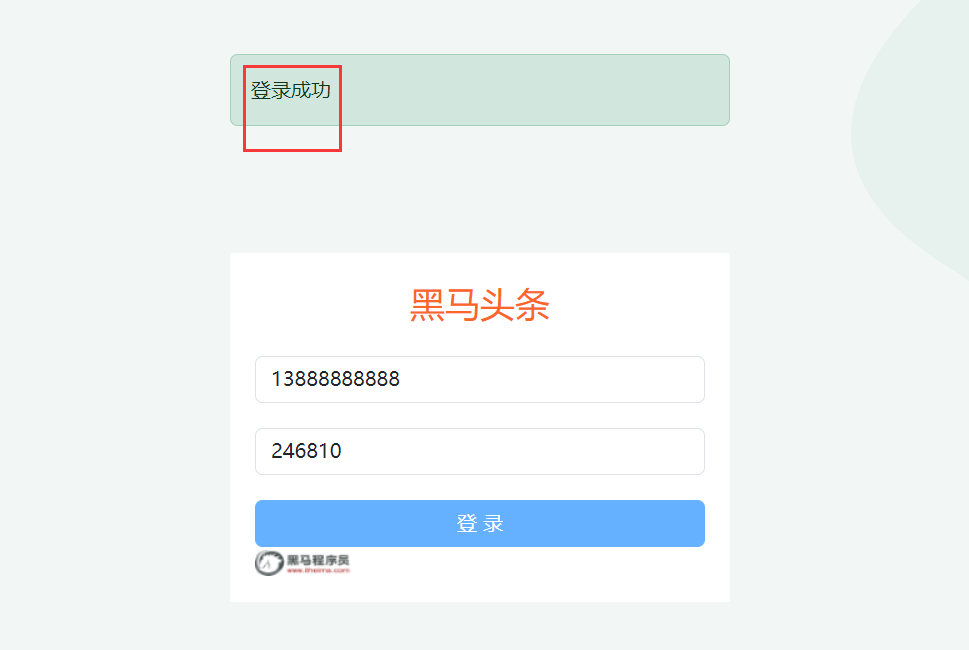
打包完成,观察效果:
登录成功
手机号长度错误
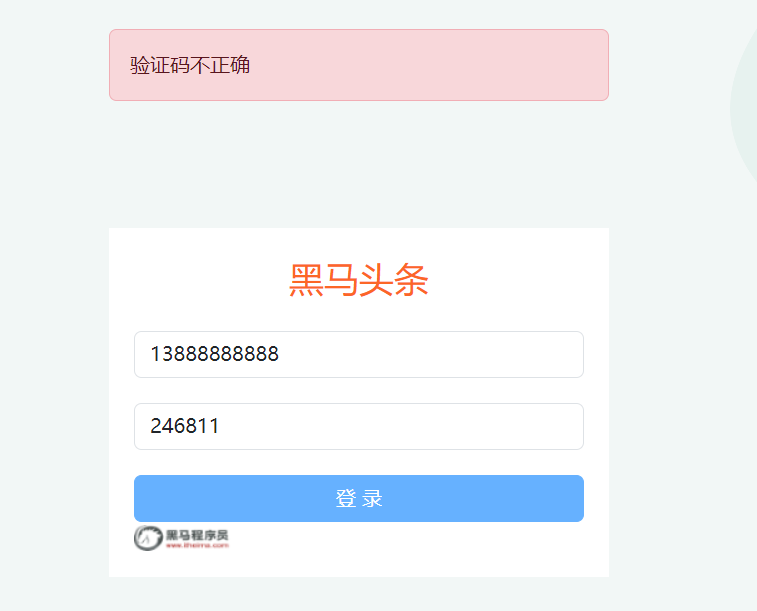
验证码
至此,用户登录功能使用Webpack打包处理结束
